Design & Build
Custom-built garden rooms. End-to-end project management. Year-round functionality.
Our custom garden rooms are completely designed to your specifications – there’s nothing created off-site and craned in here. We’ll work closely with you to understand what you intend to use your garden room for, and use our years of carpentry and building expertise to design for you a unique space that’s functional, durable and beautiful.
We’ve extensively researched the best materials to use to achieve not just a perfect, luxury finish for your garden room, but those that will keep it weather-proofed, safe and last for years. You’ll have the option to choose from two garden room sizes, our maxi and midi. From there, you can customise elements of your new space down to its internal and external colour, lighting, roof style and more. We’ll manage the project from end-to-end, arranging for any additional work like electrics and foundation laying, and completing interior decorative work ourselves so all you have to do is sit back and enjoy your new space.
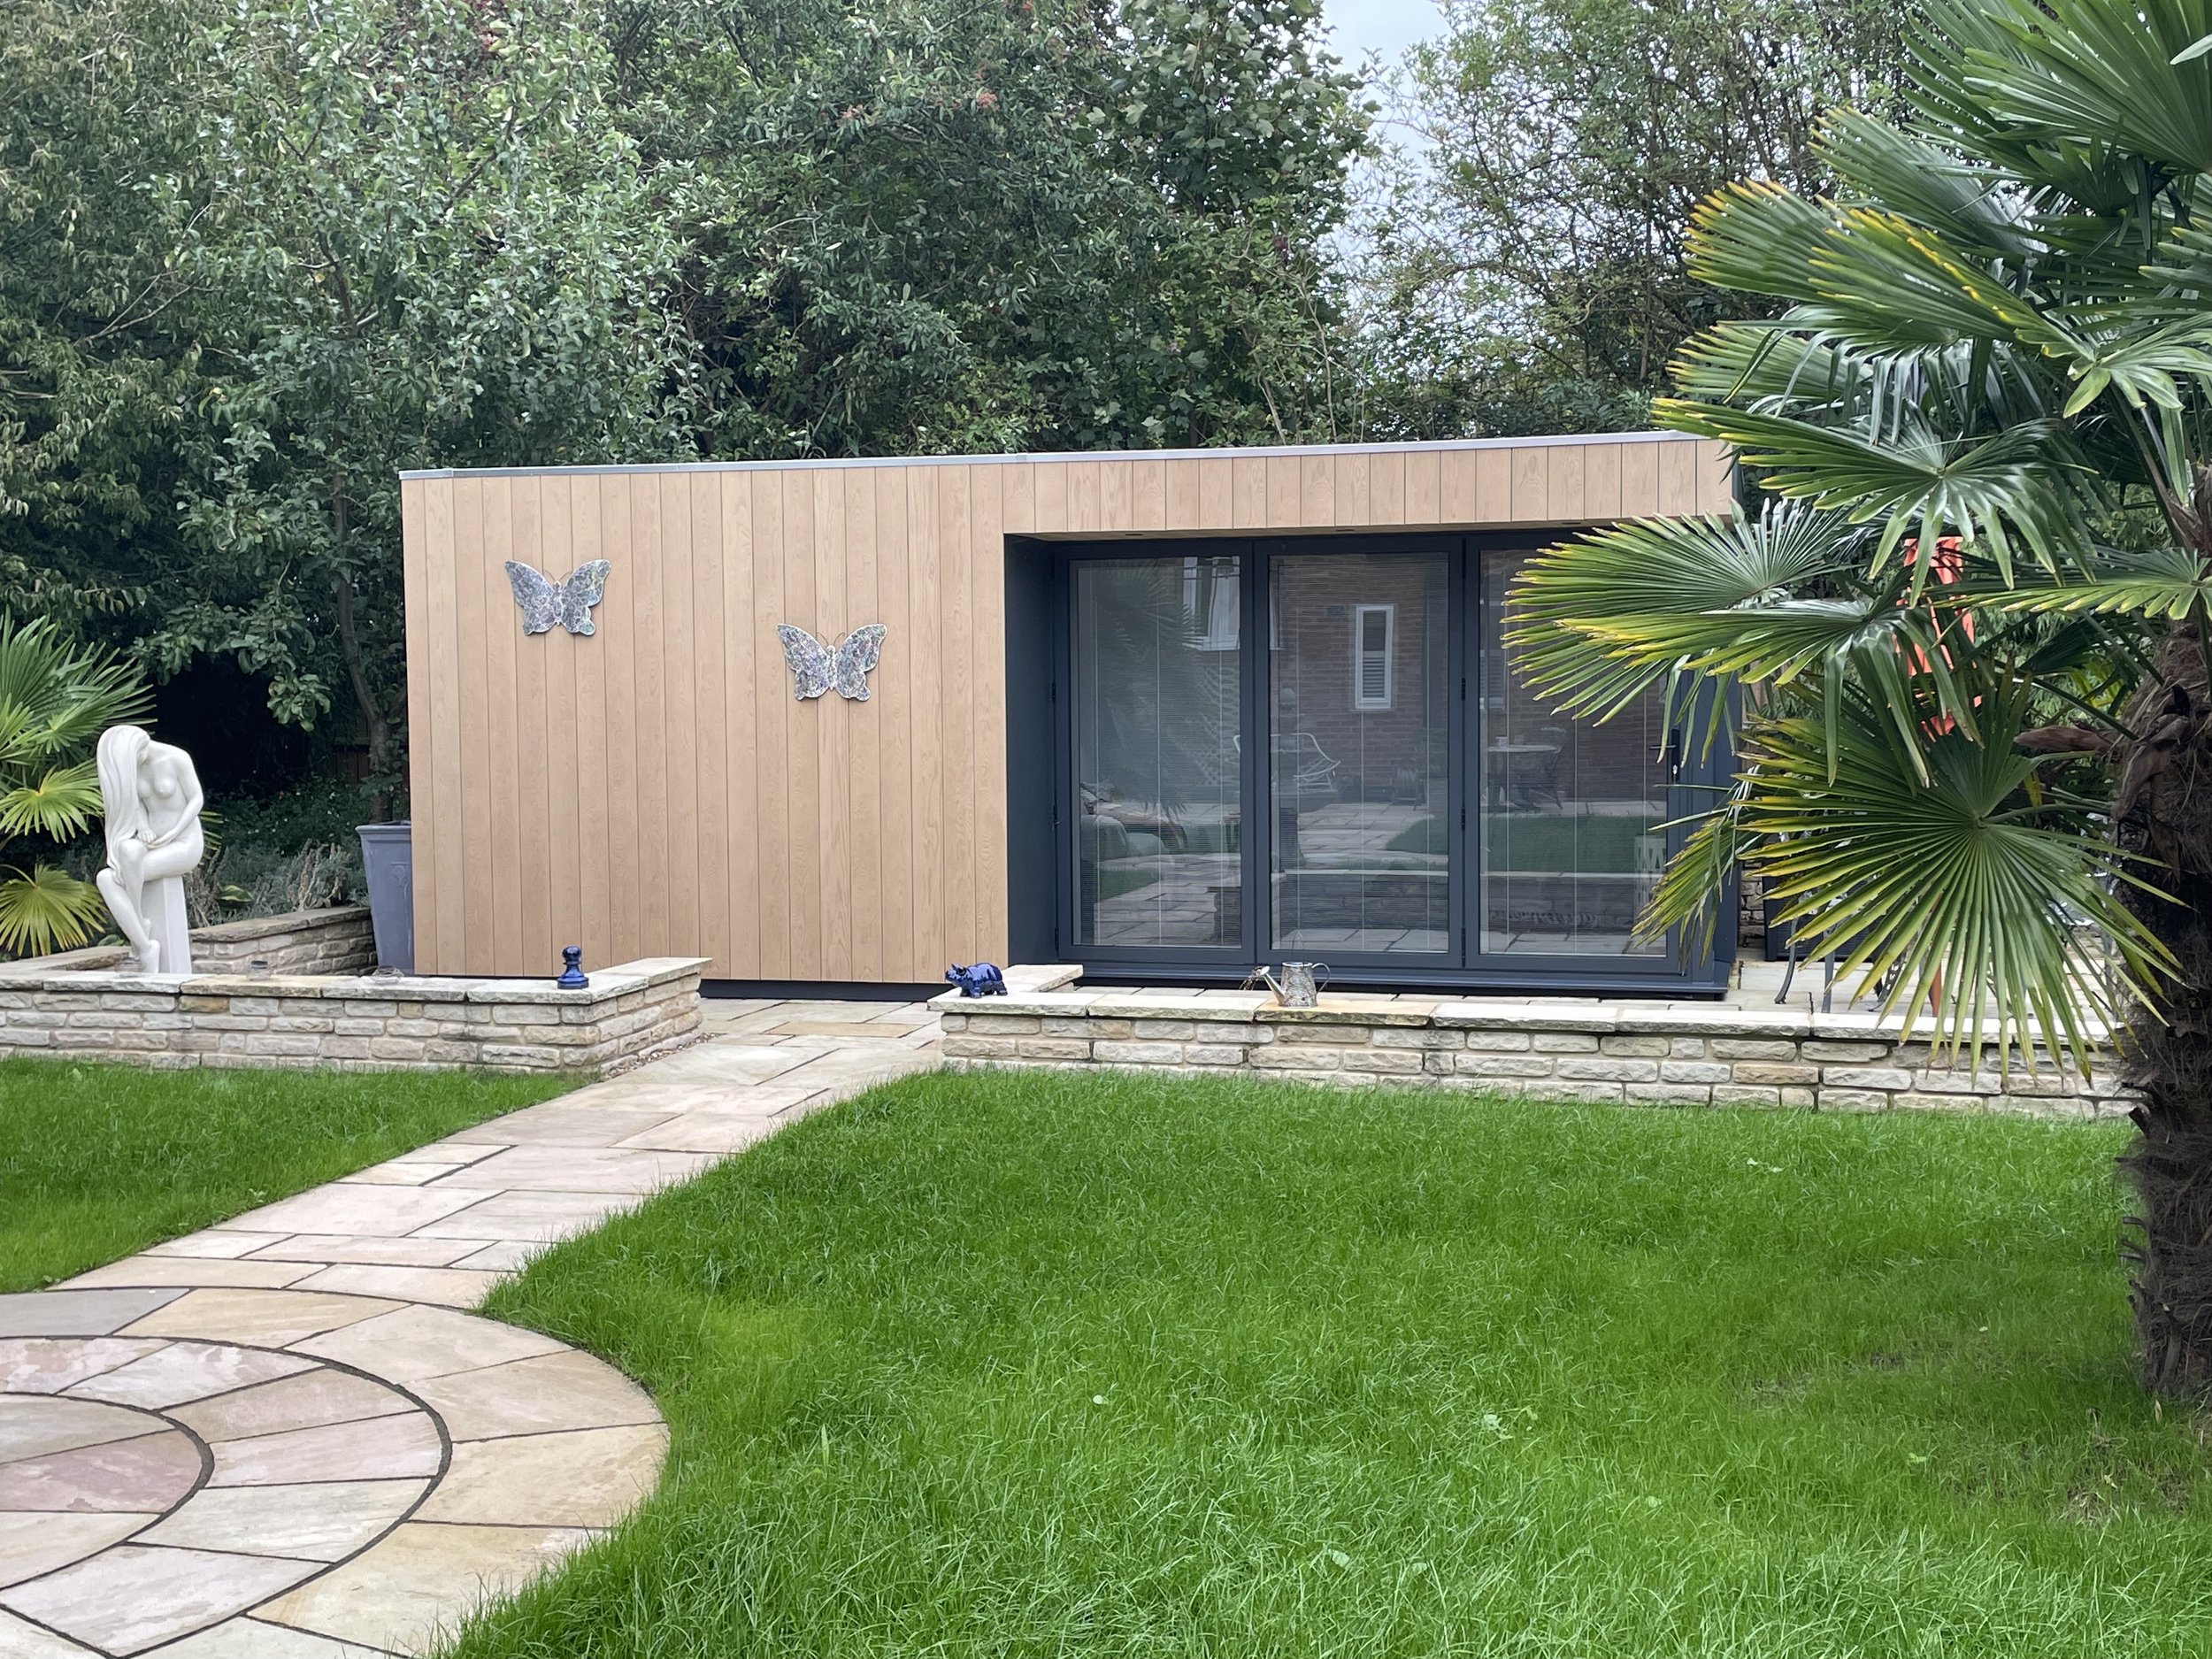
Choose your garden space size
You’ll have the option to choose from two base garden space sizes. From there, we can customise the layout and design elements of your new building to fit your budget and unique requirements.
Maxi
5 metres x 6 metres
Starting from £35,000 (inc. VAT)
Mini
3 metres x 4 metres
Starting from £27,000 (inc. VAT)
How we work
Our garden rooms are typically built within 3-5 weeks, and are completely managed end-to-end by us. Here’s a breakdown of our process and what you can expect when you work with Creo Spaces.
Step one – Design.
We’ll first visit your home, where we’ll conduct a full site survey for your new garden room and discuss what you’d like; this is where we can chat through the possibilities for your garden room, its customisations and how we can make it exactly how you’d like.
You’ll have the option to choose from two sizes, our maxi and mini garden spaces. Once you’ve chosen, we’ll go away and draw up a detailed and accurate quote for the work. If you’re happy, we’ll draft a pricing agreement, as well as a contract of work. Then you sign on the dotted line, and we get to work.
Step two – Install foundations.
We’ll arrange for foundations to be laid on the site of your new garden room. This’ll be from either an insulated concrete base or timber. We’ll also install fixtures to the perimeter of the foundation that are made from a weather-proof composite material, to ensure it doesn’t rot.
Step three – Build the frame.
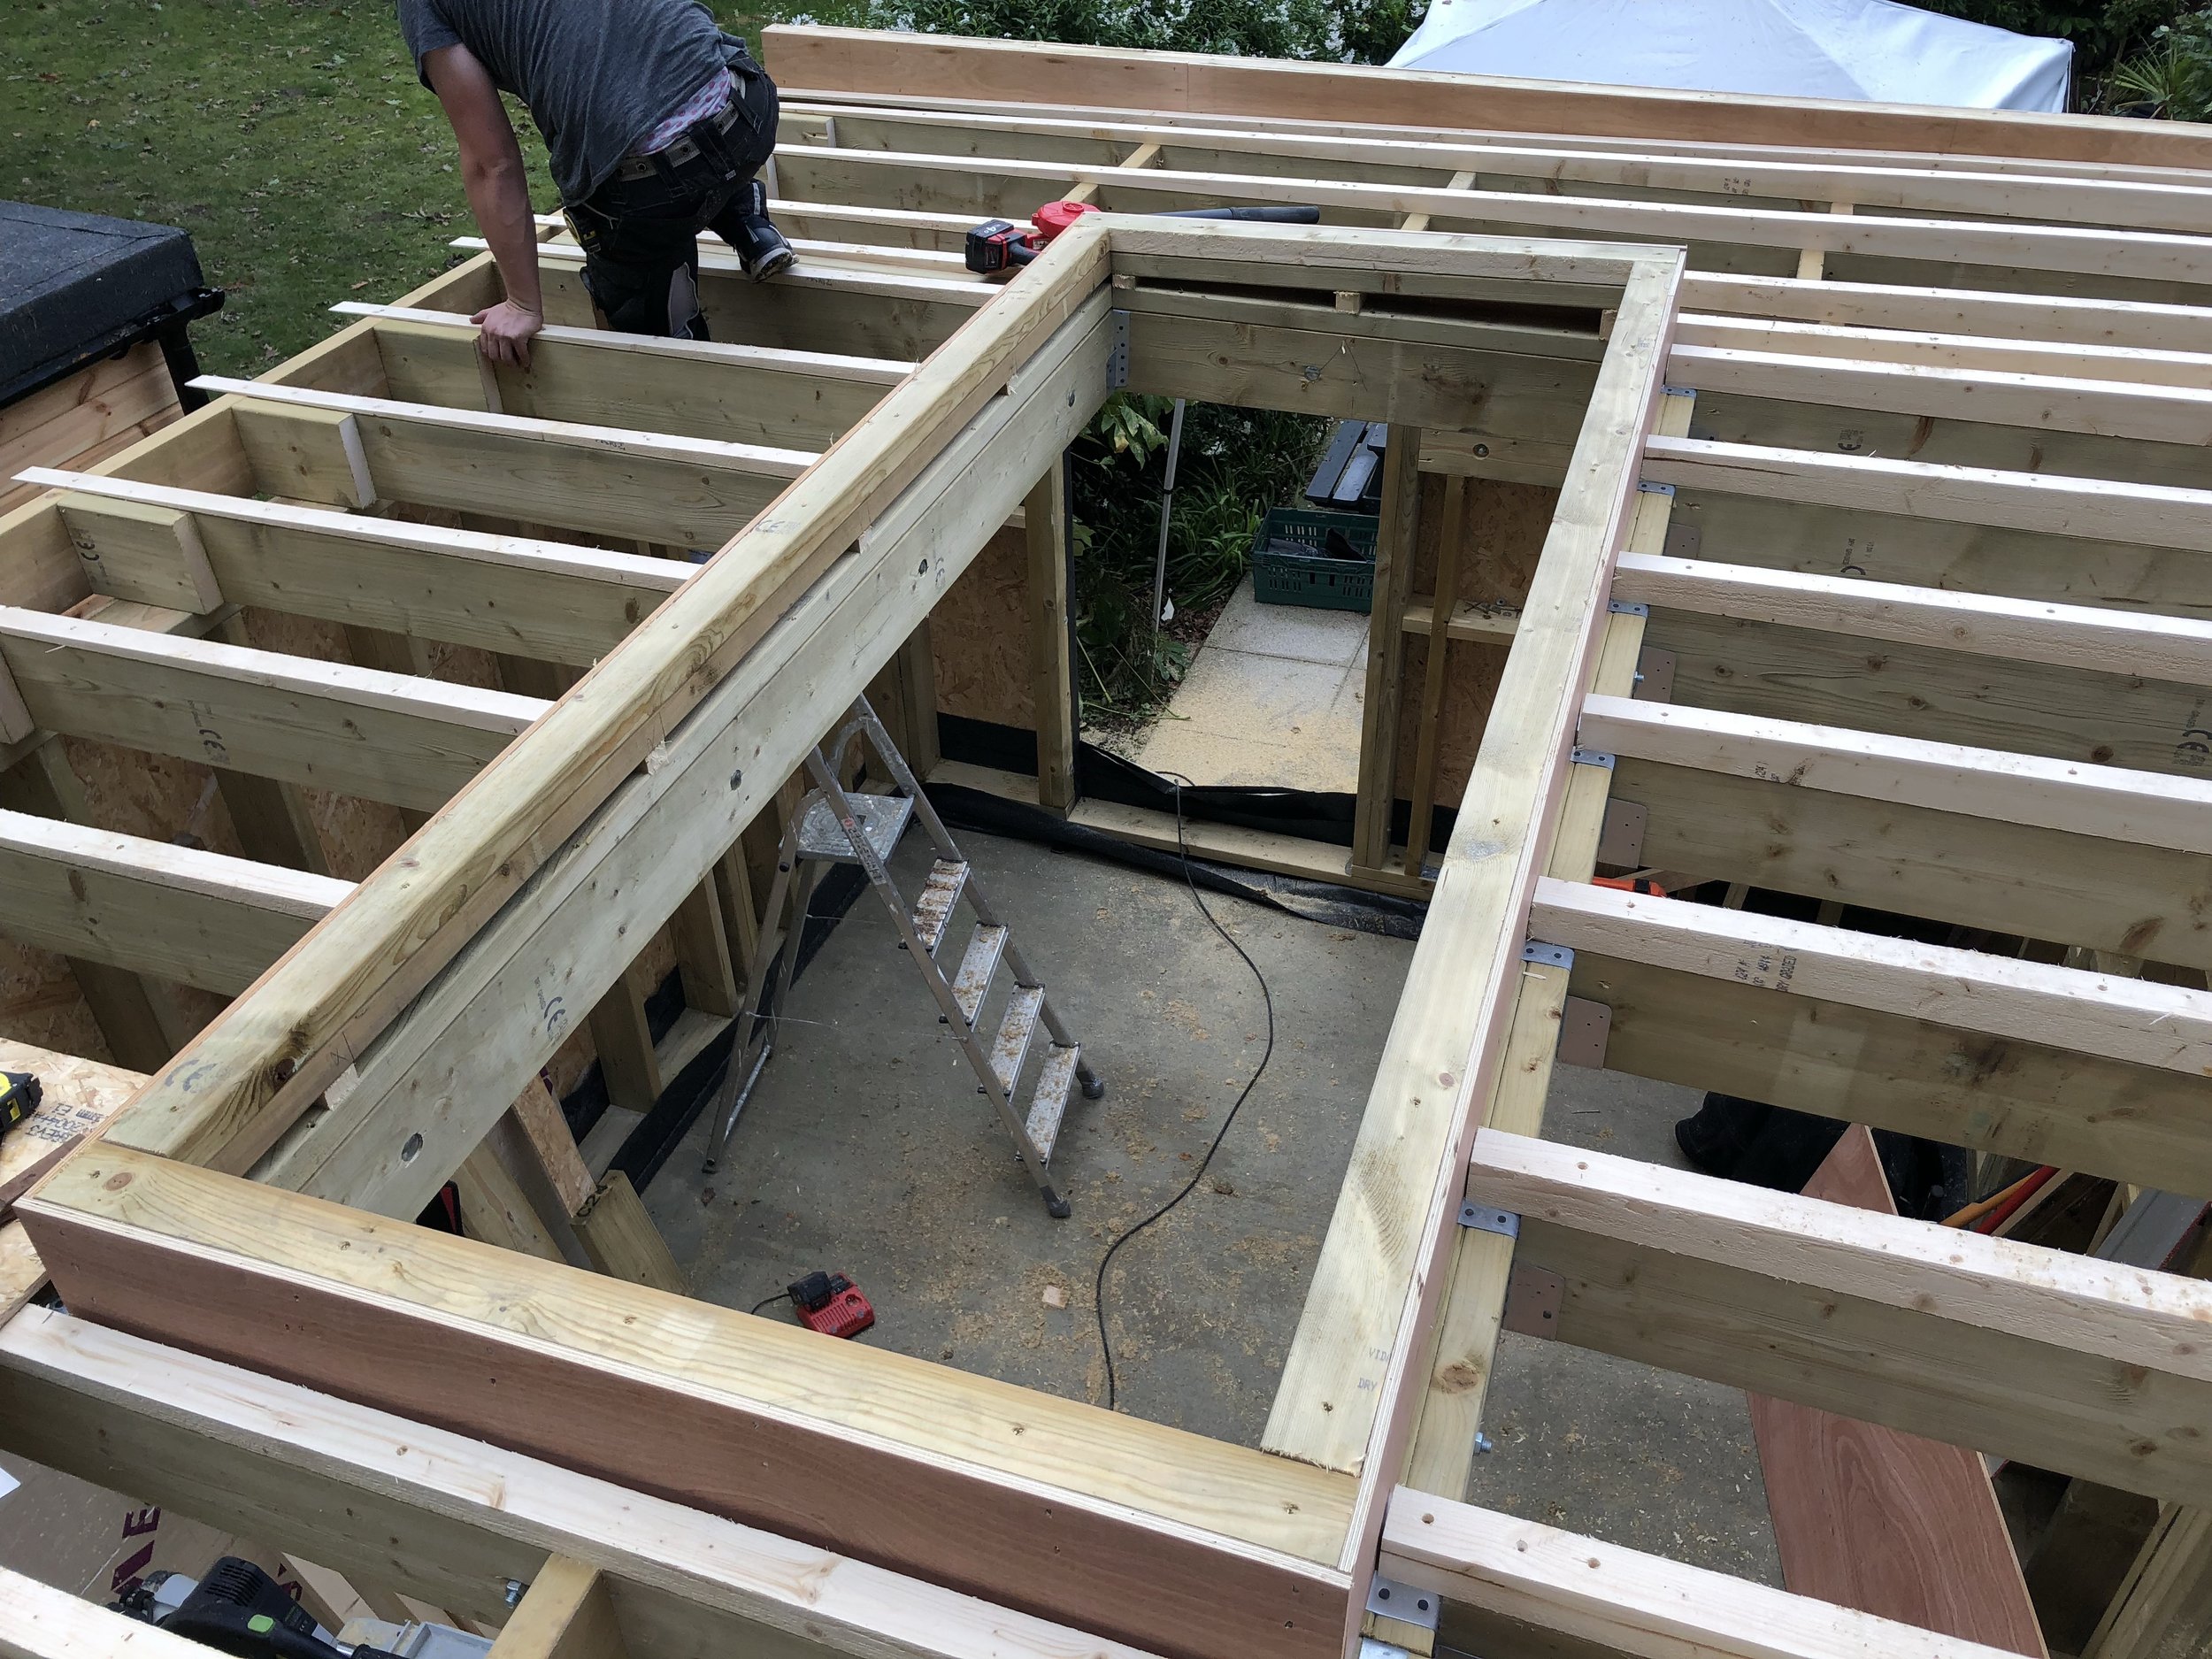
Next up, we’ll build the frame of your garden room using insulated timber panels. These are both highly effective in regulating your space’s internal temperature, and very breathable. This is the exciting part, as it’s when your garden room actually starts looking real!
Step four – Install the roof.
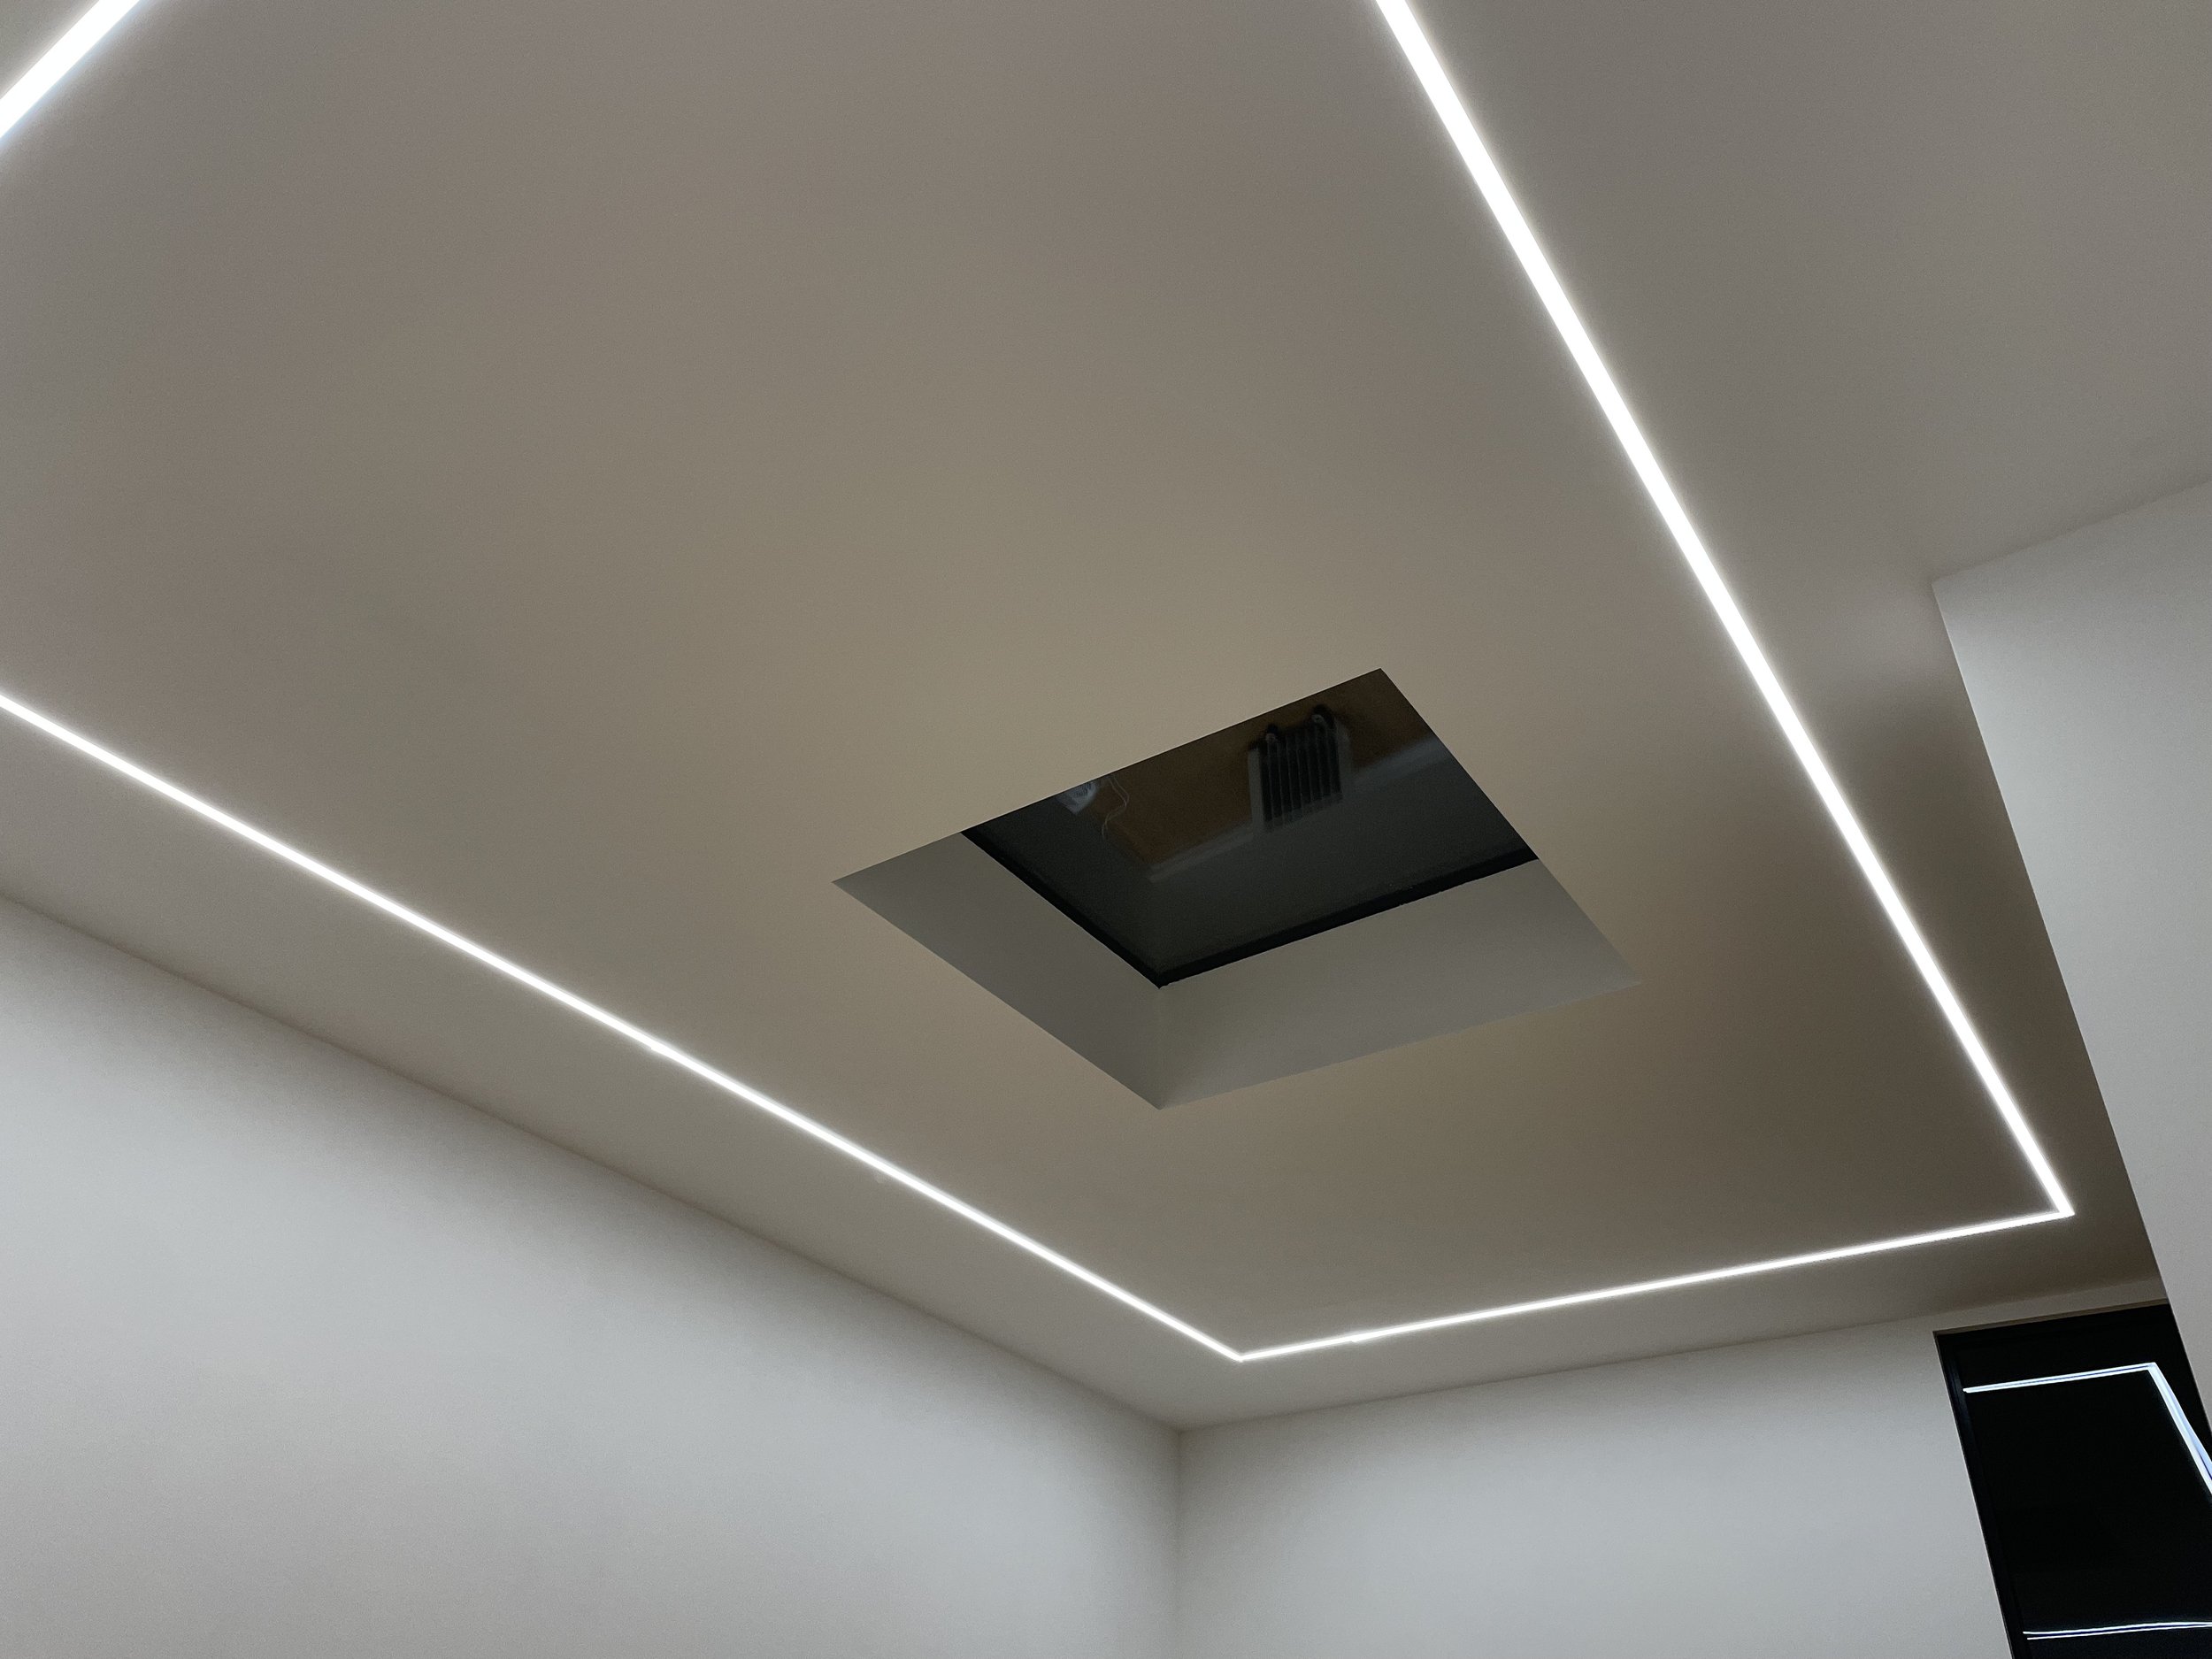
Once the frame is in place, we’ll next install the roof. In addition to a standard roof, you’ve also got the option for a roof window, if you’d like one, as well as an eco-roof, for a uniquely green and modern look.
Step five – Put up external cladding and install doors.
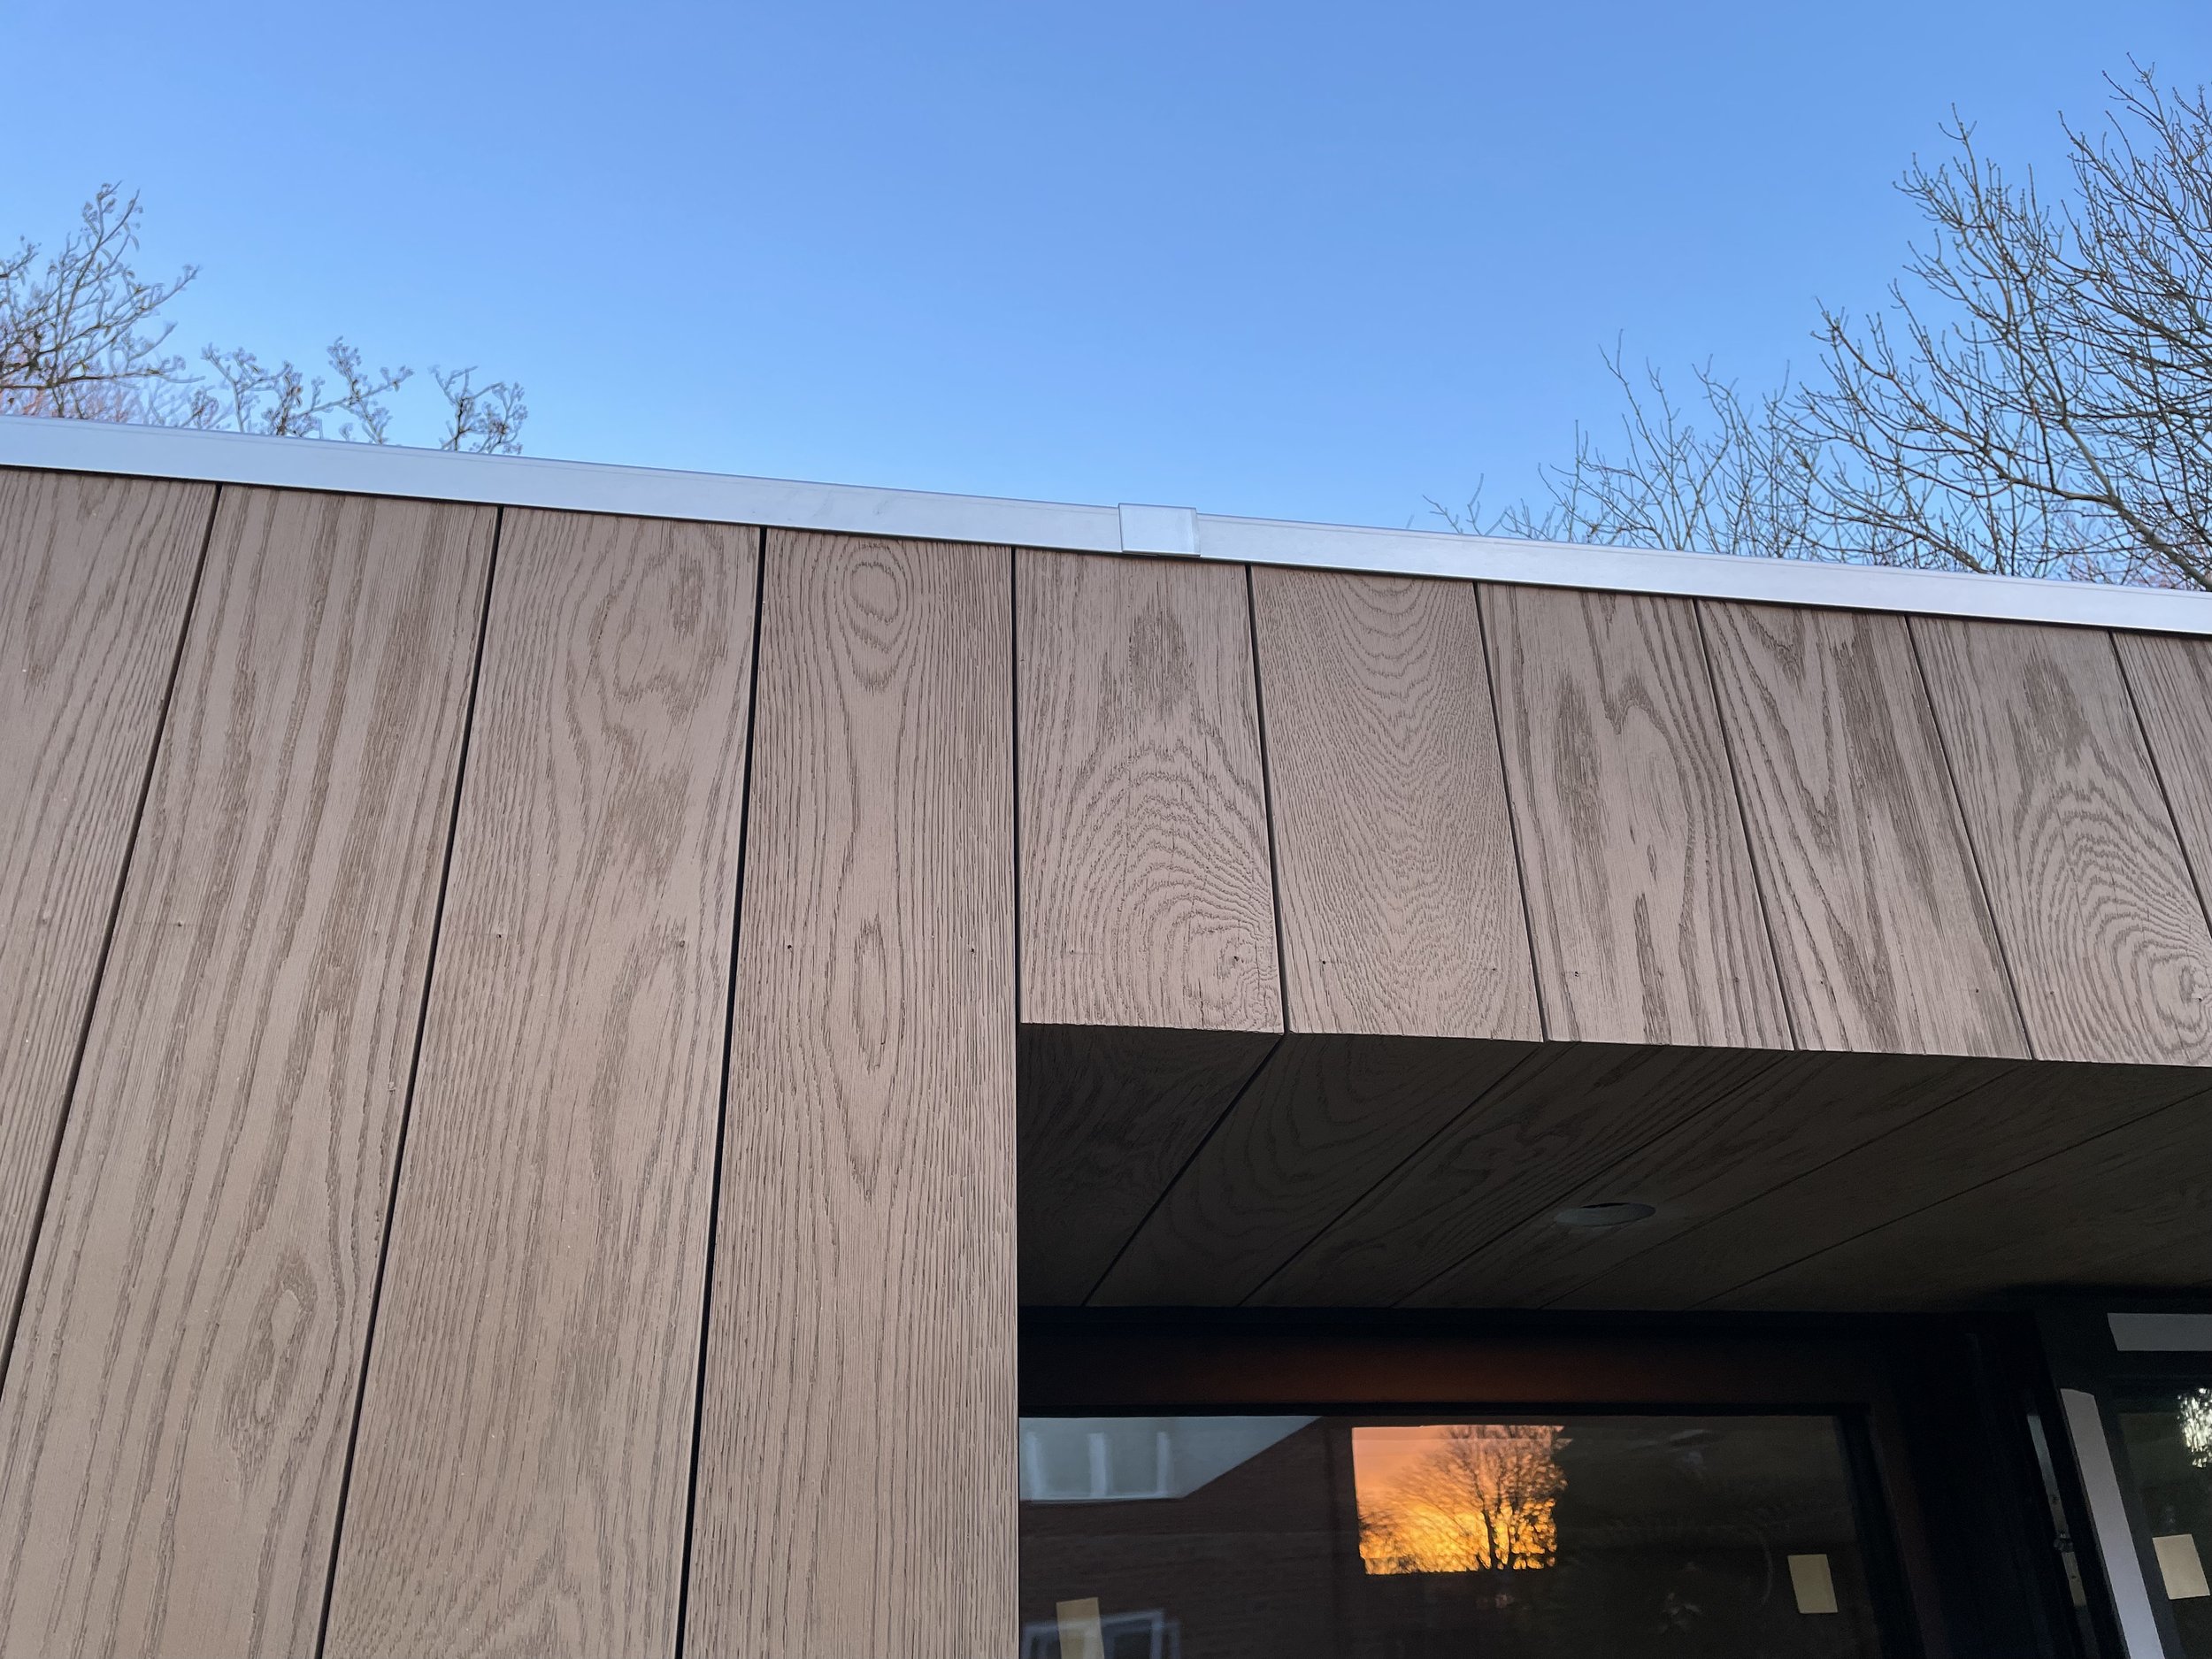
Next up comes the external cladding. You’ll have the option to pick what colour you’d like this to be. This is also where we’ll install aluminium bi-fold doors, which are both heavy-duty and incredibly stylish, and protected by a steel beam overhead to ensure safety.
Step six – Install internal insulation.
We know how important internal insulation is for your garden room (done poorly, and your space won’t be useable in the height of summer or winter), so we take great care to do it right. At this stage, we’ll both insulate the roof and install the proper materials along the ceiling and walls to make sure your new space is moisture-resistant and weather-proof for years to come.
Step seven – Install electrics.
We’ve got an electrician that we work closely with, who we’ll arrange to come in and install electric sockets and LED lighting. They can also install additional cables for WiFi should you need them.
Step eight – Interior decorating.
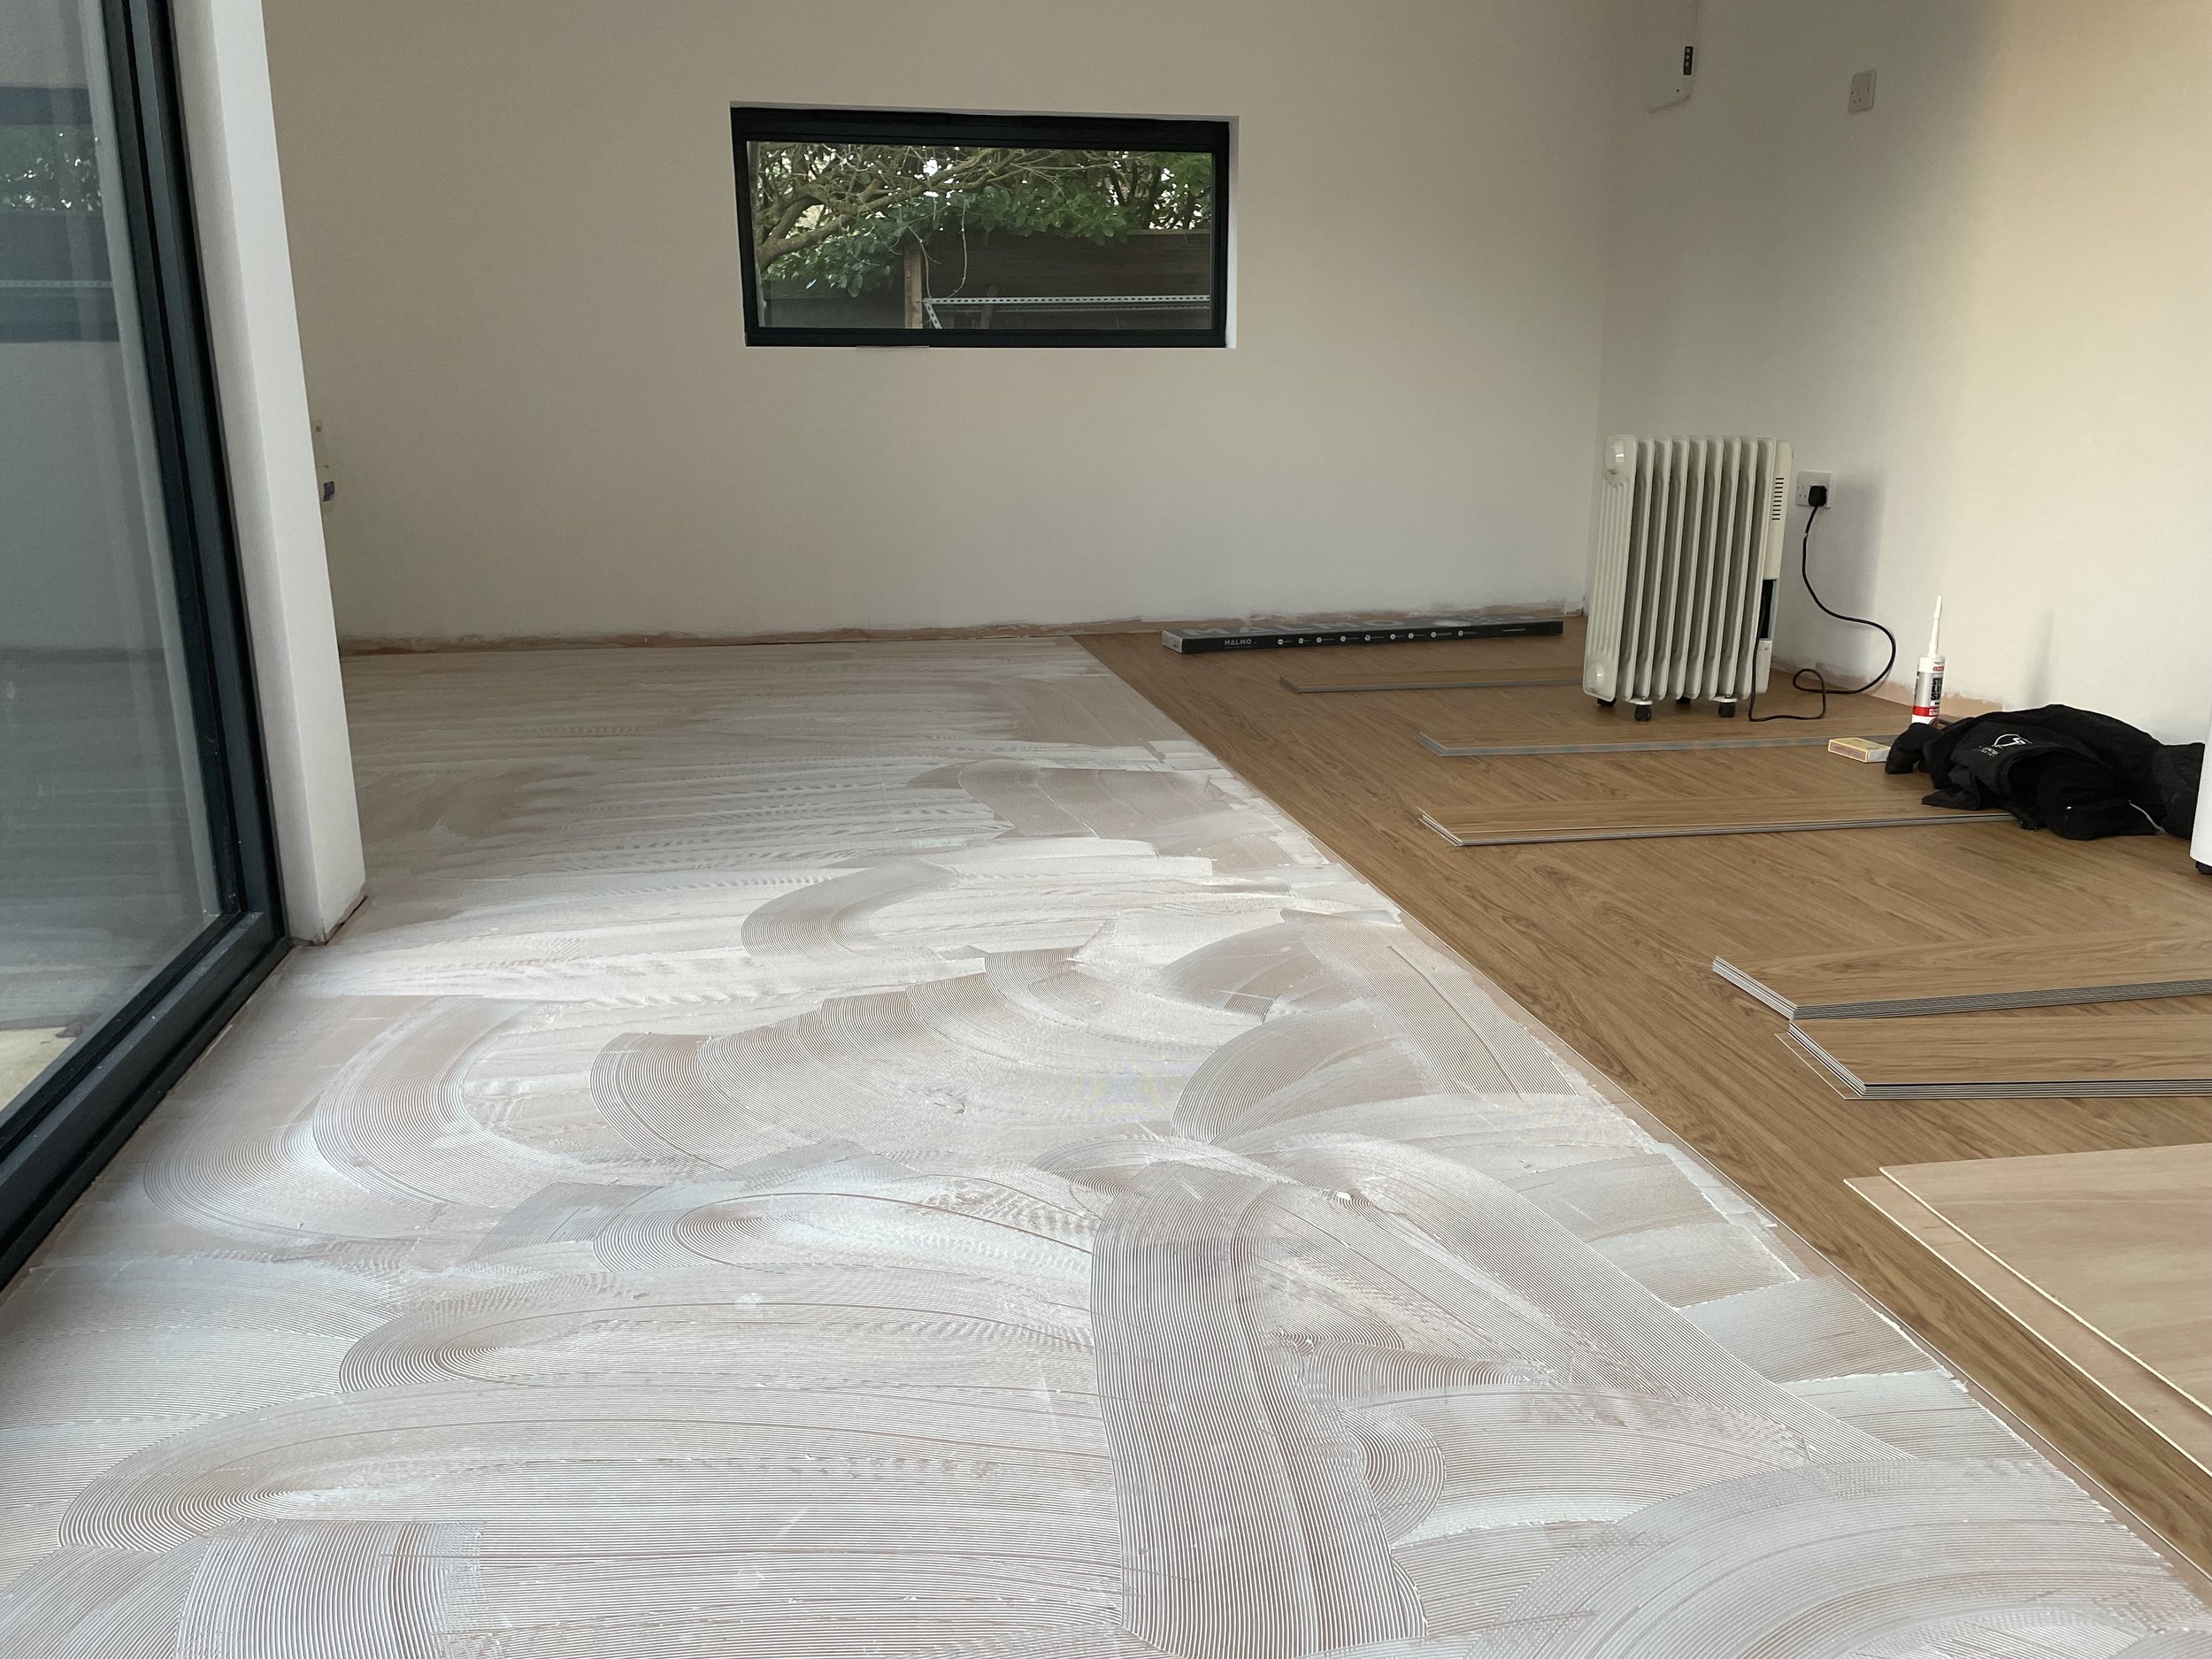
Now comes the fun bit – we’ll fit plasterboard to the walls and plaster them. Next up, we’ll paint the walls in a single colour of your choosing, then install your choice of flooring and skirting boards. Finally, we’ll fit the light sockets and switches, and from there, your brand-new space is ready to go!
(Optional) Step nine – Additional customisations.
At this point, your garden room build will be finished, but we can still arrange for additional customisations if you’d like. For example, we can install an eco-roof or arrange for air conditioning. We can discuss this in the designing stage and make sure any additions fit within your budget.
Design & Build FAQs
All your questions about our design process answered.
“As a picky person, I’ve struggled to find someone with the right level of quality and craftsmanship in the past. Tony’s work was of a high standard, and he has an exceptional eye for detail. I’ve recently booked him in again to work on my outdoor kitchen, and I can’t wait to get started and see what we come up with!”
-Dan B.
Let’s create something.
Interested in having a Creo Spaces garden room built? Tell us a little more about your project in the form below and we’ll be in touch shortly!


